
Docker is a container management service. The keywords of Docker are develop, ship and run anywhere. The whole idea of Docker is for developers to easily develop applications, ship them into containers which can then be deployed anywhere.
The initial release of Docker was in March 2013 and since then, it has become the buzzword for modern world development, especially in the face of Agile-based projects.
Docker uses a client-server architecture. The Docker client talks to the Docker daemon, which does the heavy lifting of building, running, and distributing your Docker containers. The Docker client and daemon can run on the same system, or you can connect a Docker client to a remote Docker daemon. The Docker client and daemon communicate using a REST API, over UNIX sockets or a network interface. Another Docker client is Docker Compose, that lets you work with applications consisting of a set of containers.
Docker Features
- Docker has the ability to reduce the size of development by providing a smaller footprint of the operating system via containers.
- With containers, it becomes easier for teams across different units, such as development, QA and Operations to work seamlessly across applications.
- You can deploy Docker containers anywhere, on any physical and virtual machines and even on the cloud.
- Since Docker containers are pretty lightweight, they are very easily scalable.
Docker Logging
Docker has logging mechanisms in place which can be used to debug issues as and when they occur. There is logging at the daemon level and at the container level. Let’s look at the different levels of logging.
Daemon Logging
At the daemon logging level, there are four levels of logging available.
- Debug − It details all the possible information handled by the daemon process.
- Info − It details all the errors + Information handled by the daemon process.
- Errors − It details all the errors handled by the daemon process.
- Fatal − It only details all the fatal errors handled by the daemon process.
Go through the following steps to learn how to enable logging.
Step 1 − First, we need to stop the docker daemon process, if it is already running. It can be done using the following command:
sudo service docker stop

Step 2 − Now we need to start the docker daemon process. But this time, we need to append the –l parameter to specify the logging option. So let’s issue the following command when starting the docker daemon process.
sudo dockerd –l debug &
The following points need to be noted about the above command:
- dockerd is the executable for the docker daemon process.
- The –l option is used to specify the logging level. In our case, we are putting this as debug.
- & is used to come back to the command prompt after the logging has been enabled.

Once you start the Docker process with logging, you will also now see the Debug Logs being sent to the console.
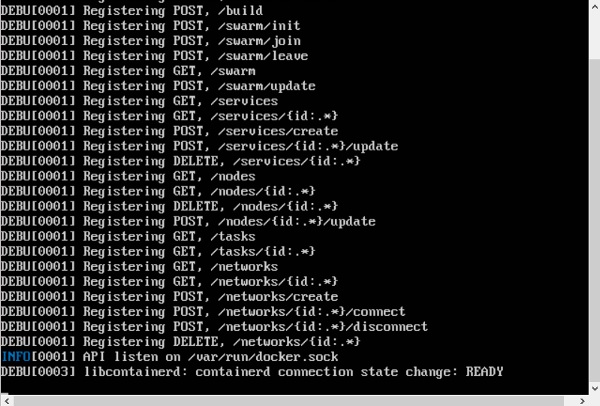
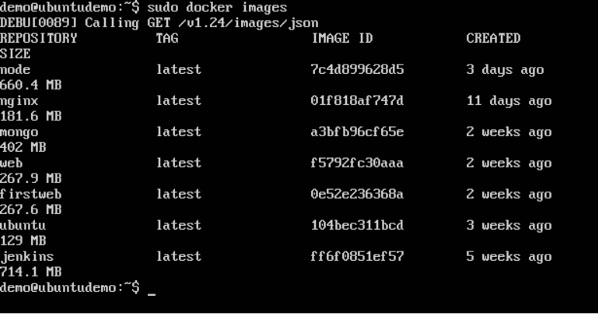
Now, if you execute any Docker command such as docker images, the Debug information will also be sent to the console.
Container Logging
Logging is also available at the container level. So in our example, let’s spin up an Ubuntu container first. We can do it by using the following command.
sudo docker run –it ubuntu /bin/bash

Now, we can use the docker log command to see the logs of the container.
On our Docker Host, let’s issue the following command. Before that, you can issue some commands whilst in the container.
sudo docker logs 6bfb1271fcdd
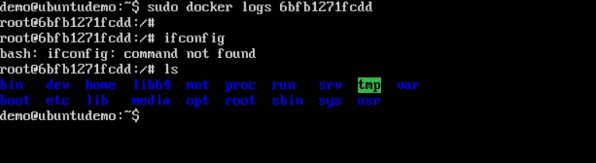
From the output, you can see that the commands executed in the container are shown in the logs.
Docker Components
Docker architecture consists of five main components: server, client, container, image, and registry.

Docker Server / Daemon
A Docker server or Docker daemon is a program that runs in the background of your computer and manages Docker containers and images. When you use the Docker command line interface.
(CLI) to create, run, or manage containers, you interact with the Docker daemon.
The Docker daemon is an essential platform component that ensures containers can be started and stopped automatically when the system boots up.
The Docker daemon (dockerd) listens for Docker API requests and manages Docker objects such as images, containers, networks, and volumes. A daemon can also communicate with other daemons to manage Docker services.
Docker Client
The Docker client lets users interact with the Docker daemon with its command-line interface (CLI). In simple terms, it’s the main part of the Docker architecture for creating, managing, and running container applications.
When you use the Docker CLI to pass a command, the Docker client sends the command to the Docker daemon running on your computer, which then carries out the requested operation. The Docker client can be installed on any machine that needs to interact with the Docker daemon, including your local machine, a remote server, or a virtual server.
The Docker client (docker) is the primary way that many Docker users interact with Docker. When you use commands such as docker run, the client sends these commands to dockerd which carries them out. The docker command uses the Docker API. The Docker client can communicate with more than one daemon.
Docker Container
A Docker container is a package that contains all the required prerequisites to run an application.
Containers are designed to be highly portable, meaning that they can be easily moved from one environment to another, such as from a developer’s laptop to a testing environment or from a testing environment to a production environment.
Docker Image
A Docker image is a preconfigured template that specifies what should be included in a Docker container. Usually, images are downloaded from websites like Docker Hub. However, it’s also possible to create a custom image with the help of Dockerfile.
Docker Registry
The Docker registry is a central repository that stores and manages Docker images. It is a server-based system that lets users store and share Docker images with others, making it easy to distribute and deploy applications. The most notable Docker registry is Docker Hub.
A Docker registry stores Docker images. Docker Hub is a public registry that anyone can use, and Docker looks for images on Docker Hub by default. You can even run your own private registry.
When you use the docker pull or docker run commands, Docker pulls the required images from your configured registry. When you use the docker push command, Docker pushes your image to your configured registry.
Standard & Traditional Virtualization Architecture
The following image shows the standard and traditional architecture of virtualization.
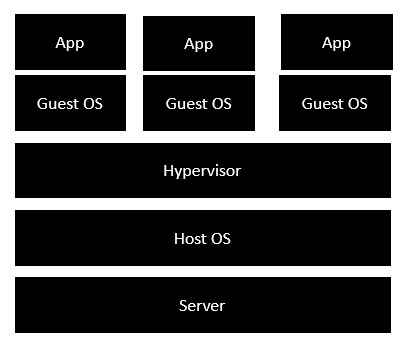
- The server is the physical server that is used to host multiple virtual machines.
- The Host OS is the base machine such as Linux or Windows.
- The Hypervisor is either VMWare or Windows Hyper V that is used to host virtual machines.
- You would then install multiple operating systems as virtual machines on top of the existing hypervisor as Guest OS.
- You would then host your applications on top of each Guest OS.
Docker Enabled Virtualization
The following image shows the new generation of virtualization that is enabled via Dockers. Let’s have a look at the various layers.
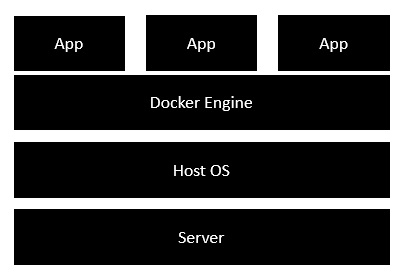
- The server is the physical server that is used to host multiple virtual machines. So this layer remains the same.
- The Host OS is the base machine such as Linux or Windows. So this layer remains the same.
- Now comes the new generation which is the Docker engine. This is used to run the operating system which earlier used to be virtual machines as Docker containers.
- All of the Apps now run as Docker containers.
The clear advantage in this architecture is that you don’t need to have extra hardware for Guest OS. Everything works as Docker containers.
Installating Docker on Linux
To start the installation of Docker, we are going to use an Ubuntu instance. You can use Oracle Virtual Box to setup a virtual Linux instance, in case you don’t have it already.
The following screenshot shows a simple Ubuntu server which has been installed on Oracle Virtual Box. There is an OS user named demo which has been defined on the system having entire root access to the sever.

To install Docker, we need to follow the steps given below.
Step 1 − Before installing Docker, you first have to ensure that you have the right Linux kernel version running. Docker is only designed to run on Linux kernel version 3.8 and higher. We can do this by running the following command.
uname –a
When we run above command, we will get the following result:

From the output, we can see that the Linux kernel version is 4.2.0-27 which is higher than version 3.8, so we are good to go.
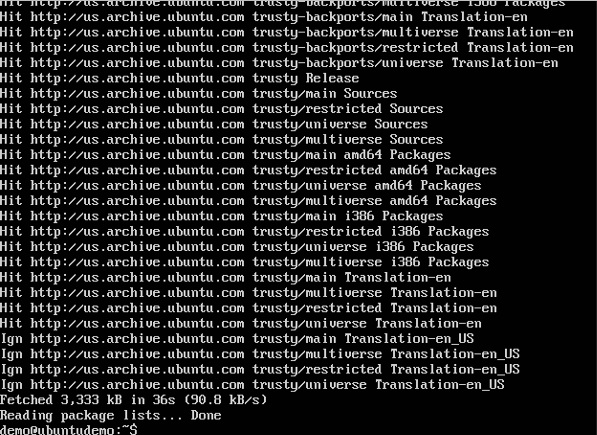
Step 2 − You need to update the OS with the latest packages, which can be done via the following command:
sudo apt-get update
When we run the above command, we will get the following result:
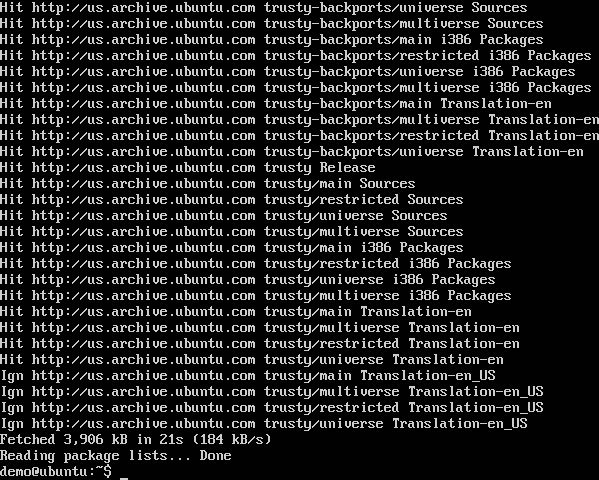
This command will connect to the internet and download the latest system packages for Ubuntu.
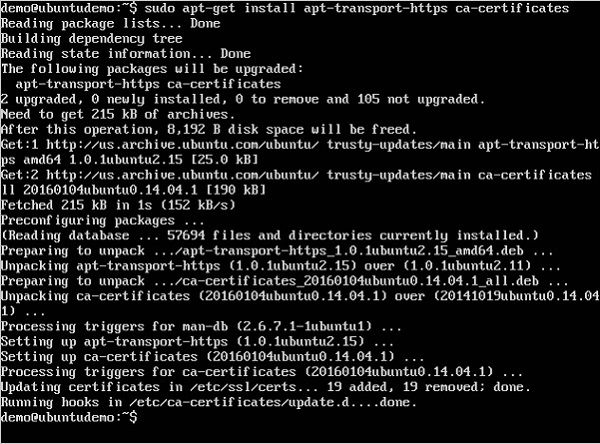
Step 3 − The next step is to install the necessary certificates that will be required to work with the Docker site later on to download the necessary Docker packages. It can be done with the following command.
sudo apt-get install apt-transport-https ca-certificates
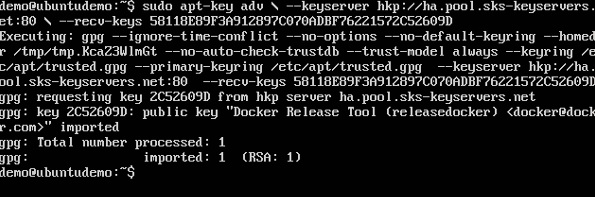
Step 4 − The next step is to add the new GPG key. This key is required to ensure that all data is encrypted when downloading the necessary packages for Docker.
The following command will download the key with the ID 58118E89F3A912897C070ADBF76221572C52609D from the keyserver hkp://ha.pool.sks-keyservers.net:80 and adds it to the adv keychain. Please note that this particular key is required to download the necessary Docker packages.
Step 5 − Next, depending on the version of Ubuntu you have, you will need to add the relevant site to the docker.list for the apt package manager, so that it will be able to detect the Docker packages from the Docker site and download them accordingly.
- Precise 12.04 (LTS) ─ deb https://apt.dockerproject.org/repoubuntu-precise main
- Trusty 14.04 (LTS) ─ deb https://apt.dockerproject.org/repo/ ubuntu-trusty main
- Wily 15.10 ─ deb https://apt.dockerproject.org/repo ubuntu-wily main
- Xenial 16.04 (LTS) – https://apt.dockerproject.org/repo ubuntu-xenial main
Since our OS is Ubuntu 14.04, we will use the Repository name as “deb https://apt.dockerproject.org/repo ubuntu-trusty main”.
And then, we will need to add this repository to the docker.list as mentioned above.
echo “deb https://apt.dockerproject.org/repo ubuntu-trusty main” | sudo tee /etc/apt/sources.list.d/docker.list

Step 6 − Next, we issue the apt-get update command to update the packages on the Ubuntu system.
Step 7 − If you want to verify that the package manager is pointing to the right repository, you can do it by issuing the apt-cache command.
apt-cache policy docker-engine
In the output, you will get the link to https://apt.dockerproject.org/repo/
Step 8 − Issue the apt-get update command to ensure all the packages on the local system are up to date.

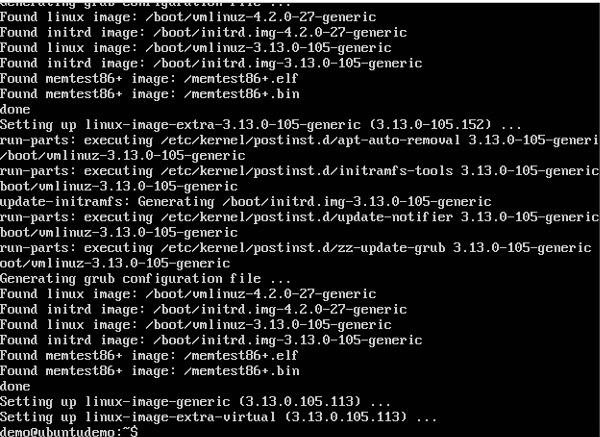
Step 9 − For Ubuntu Trusty, Wily, and Xenial, we have to install the linux-image-extra-* kernel packages, which allows one to use the aufs storage driver. This driver is used by the newer versions of Docker.
It can be done by using the following command.
sudo apt-get install linux-image-extra-$(uname -r) linux-image-extra-virtual
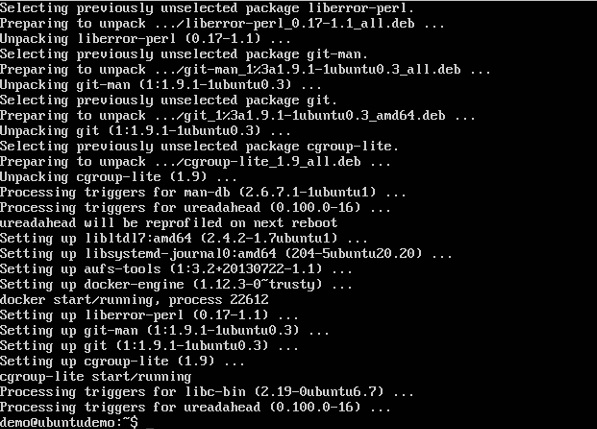
Step 10 − The final step is to install Docker and we can do this with the following command:
sudo apt-get install –y docker-engine
Here, apt-get uses the install option to download the Docker-engine image from the Docker website and get Docker installed.
The Docker-engine is the official package from the Docker Corporation for Ubuntu-based systems.

In the next section, we will see how to check for the version of Docker that was installed.
Docker Version
To see the version of Docker running, you can issue the following command:
sudo docker version
When we run the above program, we will get the following result:
Docker Info
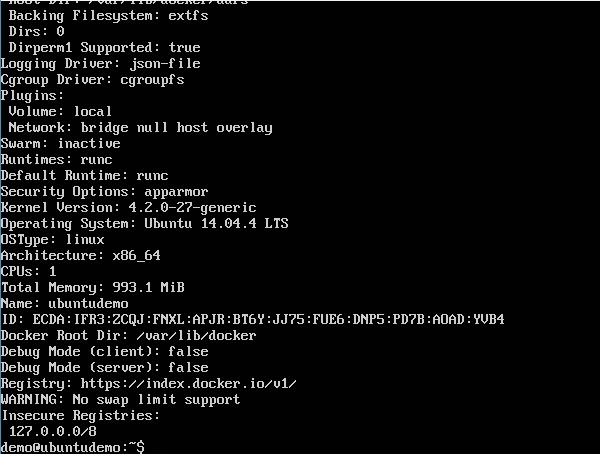
To see more information on the Docker running on the system, you can issue the following command:
sudo docker info
The output will provide the various details of the Docker installed on the system such as:
- Number of containers.
- Number of images.
- The storage driver used by Docker.
- The root directory used by Docker.
- The execution driver used by Docker.
When we run the above command, we will get the following result:
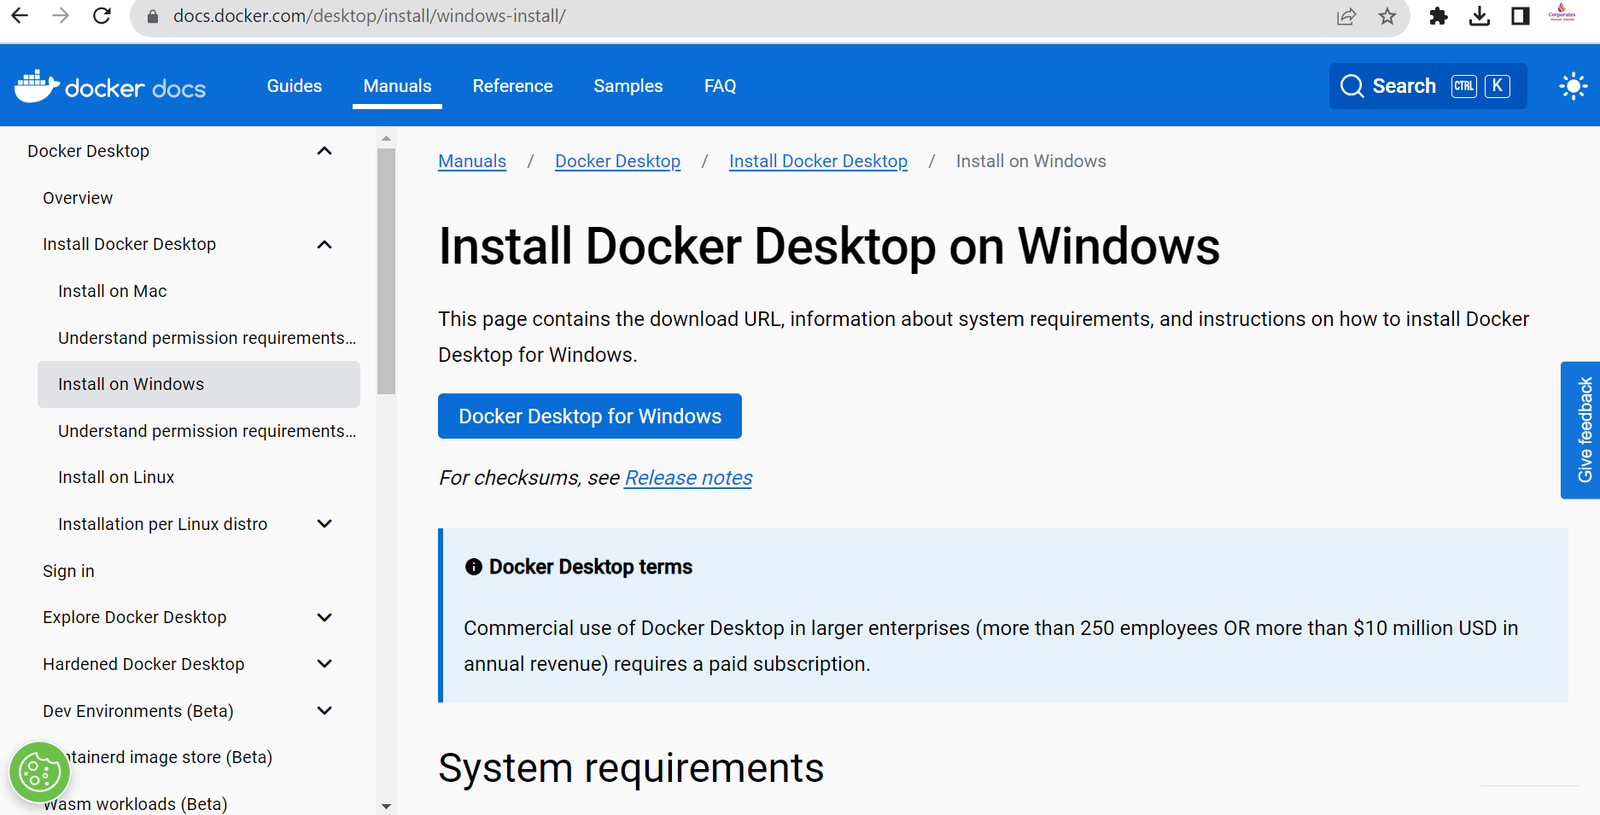
Docker for Windows
Docker has out-of-the-box support for Windows, but you need to have the following configuration in order to install Docker for Windows.
System Requirements
| Windows OS | Windows 10 64 bit |
| Memory | 2 GB RAM (recommended) |
You can download Docker for Windows from − https://docs.docker.com/desktop/install/windows-install/
System Requirements
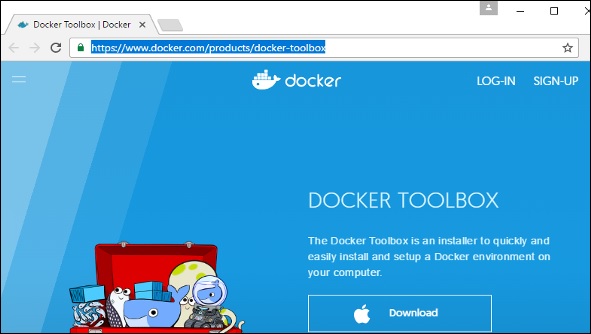
Docker ToolBox
Docker ToolBox has been designed for older versions of Windows, such as Windows 8.1 and Windows 7. You need to have the following configuration in order to install Docker for Windows.
| Windows OS | Windows 7 , 8, 8.1 |
| Memory | 2 GB RAM (recommended) |
| Virtualization | This should be enabled. |
You can download Docker ToolBox from − https://www.docker.com/products/docker-toolbox
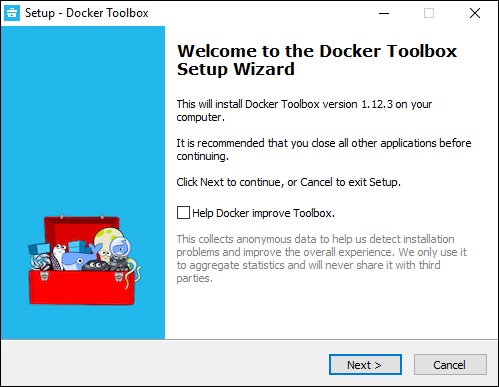
Once the installer has been downloaded, double-click it to start the installer and then follow the steps given below.
Step 1 − Click the Next button on the start screen.
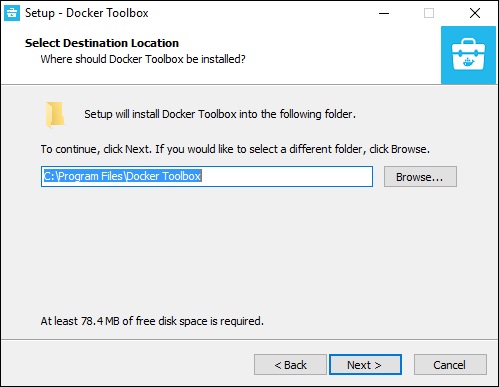
Step 2 − Keep the default location on the next screen and click the Next button.
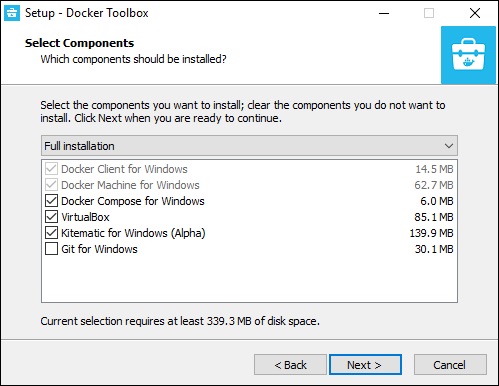
Step 3 − Keep the default components and click the Next button to proceed.
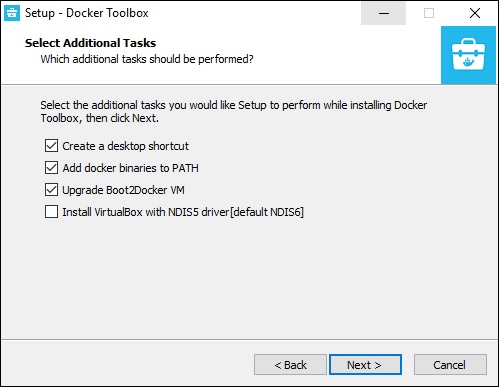
Step 4 − Keep the Additional Tasks as they are and then click the Next button.
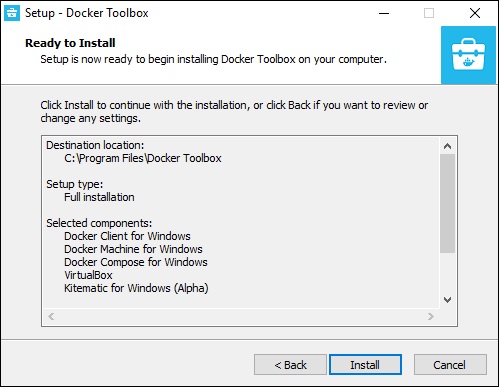
Step 5 − On the final screen, click the Install button.
Installating Docker on Windows
Once the installer has been downloaded, double-click it to start the installer and then follow the steps given below.
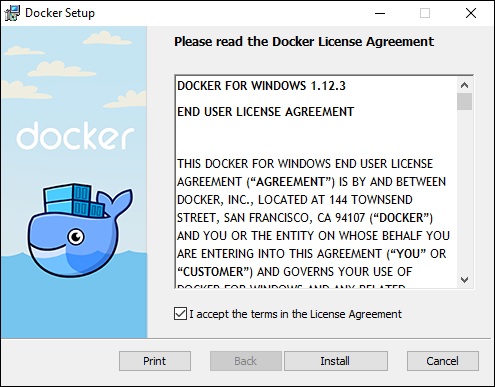
Step 1 − Click on the Agreement terms and then the Install button to proceed ahead with the installation.
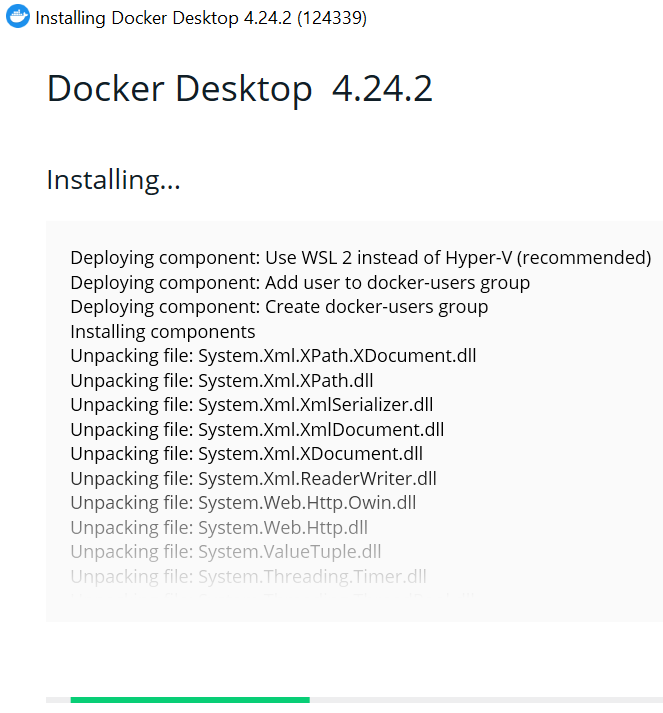
Step 2 – Installation of docker happens.
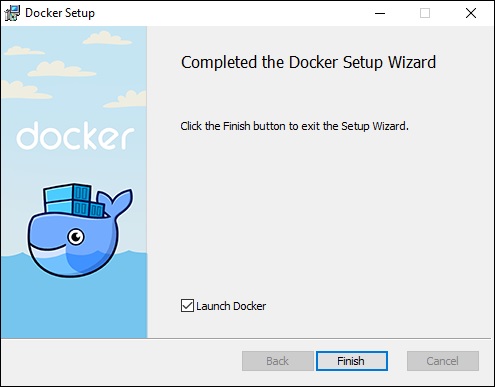
Step 3 − Once complete, click the Finish button to complete the installation.
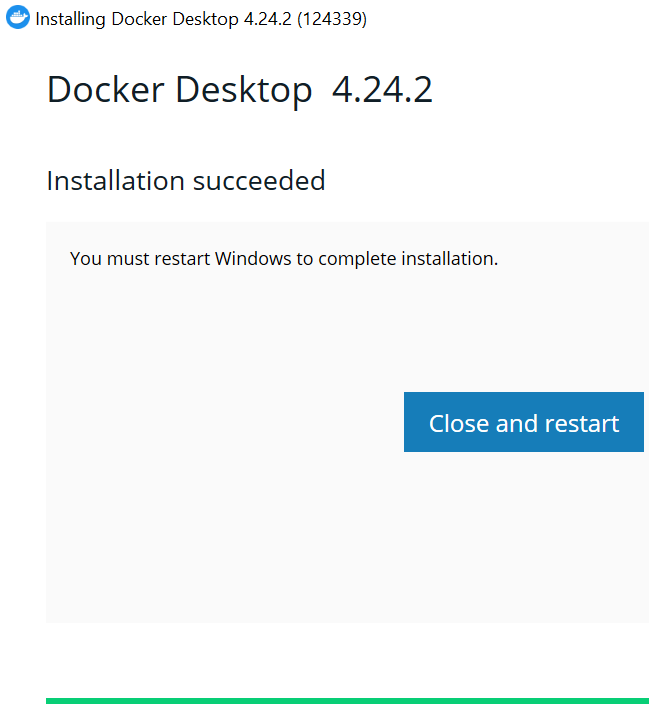
Step 4 – Close and restart the windows to launch the docker.
Working with Docker ToolBox
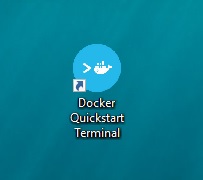
Let’s now look at how Docker Toolbox can be used to work with Docker containers on Windows. The first step is to launch the Docker Toolbox application for which the shortcut is created on the desktop when the installation of Docker toolbox is carried out.
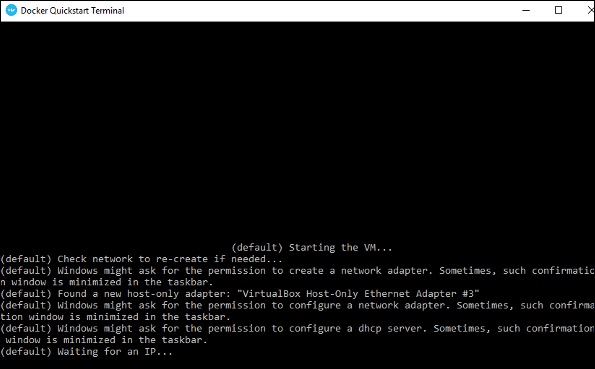
Next, you will see the configuration being carried out when Docker toolbox is launched.
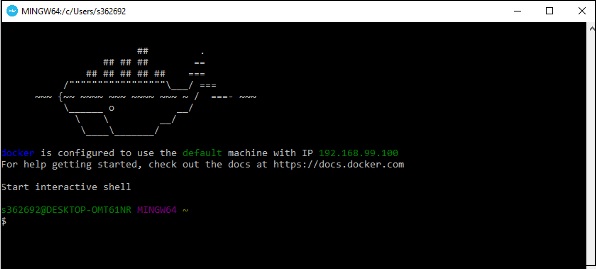
Once done, you will see Docker configured and launched. You will get an interactive shell for Docker.
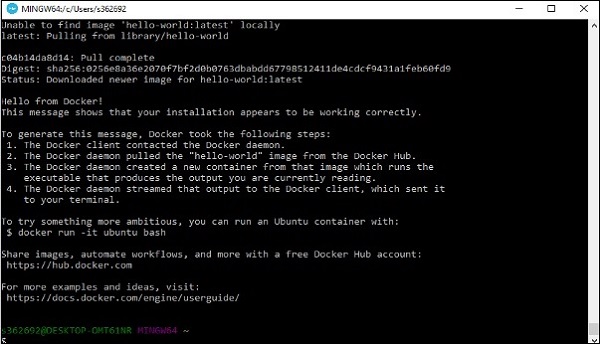
To test that Docker runs properly, we can use the Docker run command to download and run a simple HelloWorld Docker container.
sudo docker run hello-world
This command will download the hello-world image, if it is not already present, and run the hello-world as a container.
When we run the above command, we will get the following result:
If you want to run the Ubuntu OS on Windows, you can download the Ubuntu Image using the following command:
Docker run –it ubuntu bash
Here you are telling Docker to run the command in the interactive mode via the –it option.
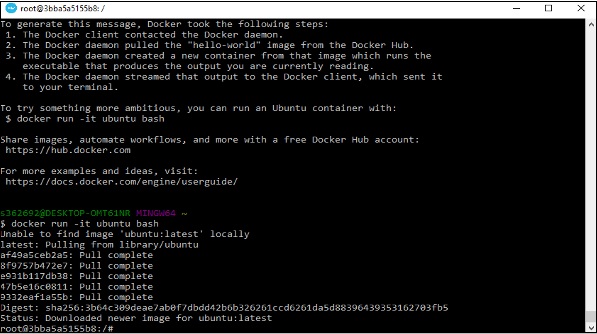
In the output you can see that the Ubuntu image is downloaded and run and then you will be logged in as a root user in the Ubuntu container.